This guide will walk you through the steps to set up a project in Google Console, create an OAuth consent screen, and generate web and Android client IDs for Google authentication.
Creating a Project in Google Console
- Go to Google Cloud Console (opens in a new tab) and sign in with your Google account.
- Click on the project selector dropdown at the top of the page.
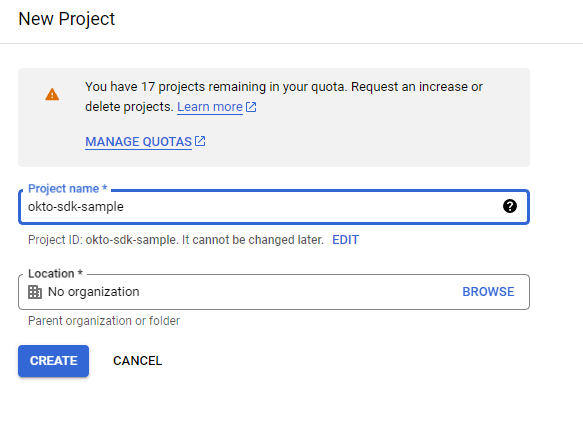
- Click on "New Project".
- Enter a name for your project and click "Create".
- Once the project is created, select it from the project selector dropdown.
Creating an OAuth Consent Screen
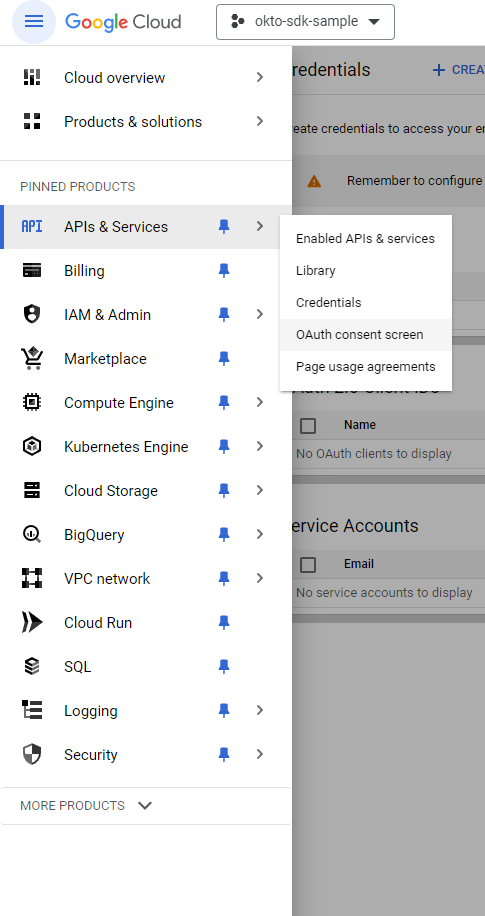
- In Google Cloud Console, navigate to the "APIs & Services" > "OAuth consent screen" page from the left sidebar.
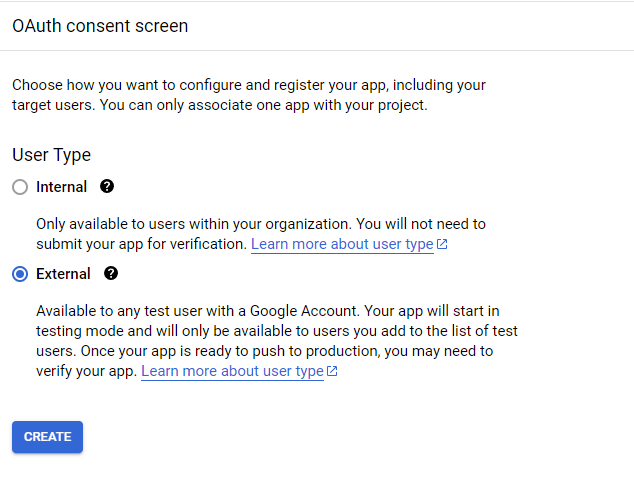
- Click on "Create" to start setting up your consent screen.
- Choose the user type for your application (Internal or External) and click "Create".
- Fill out the required fields on the consent screen configuration form:
- Application name: Enter the name of your application.
- User support email: Enter an email address where users can contact you for support.
- Developer contact information: Provide contact information for the developer of the application.
- Click "Save and Continue".
Creating an Android Client ID
- In Google Cloud Console, navigate to the "Credentials" page under "APIs & Services".
- Click on "Create credentials" and select "OAuth client ID".
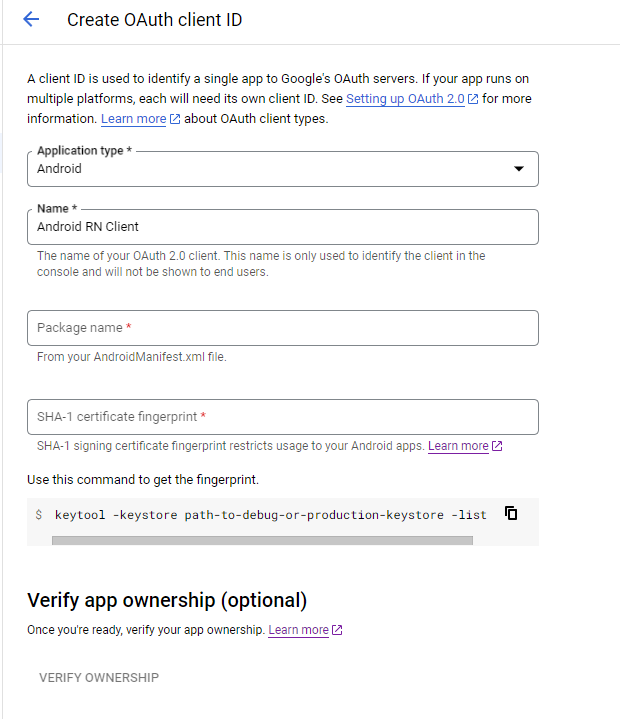
- Choose "Android" as the application type.
- In the "Package name" field, enter the package name of your Android app (e.g.,
com.example.myapp). - In the "SHA-1 certificate fingerprint" field, enter the SHA-1 fingerprint of your signing certificate. You can obtain this fingerprint using keytool or Android Studio. You can use the follwing command to get the fingerprint using keytool
keytool -keystore ./android/app/debug.keystore -list -v- Click "Create" to generate your Android client ID.
- Copy the client ID provided.
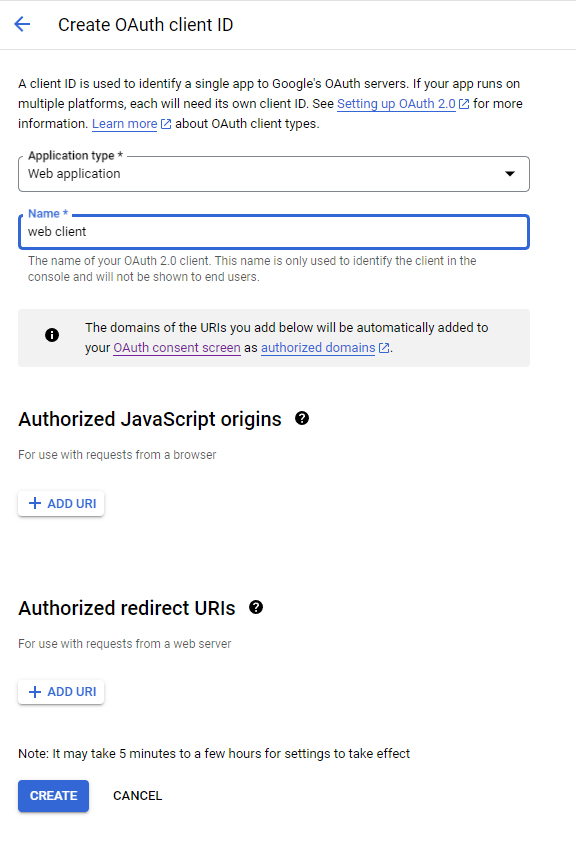
Creating a Web Client ID
- Navigate to the "Credentials" page under "APIs & Services" in Google Cloud Console.
- Click on "Create credentials" and select "OAuth client ID".
- Choose "Web application" as the application type.
- Click "Create" to generate your web client ID.
- Copy the client ID and client secret provided.
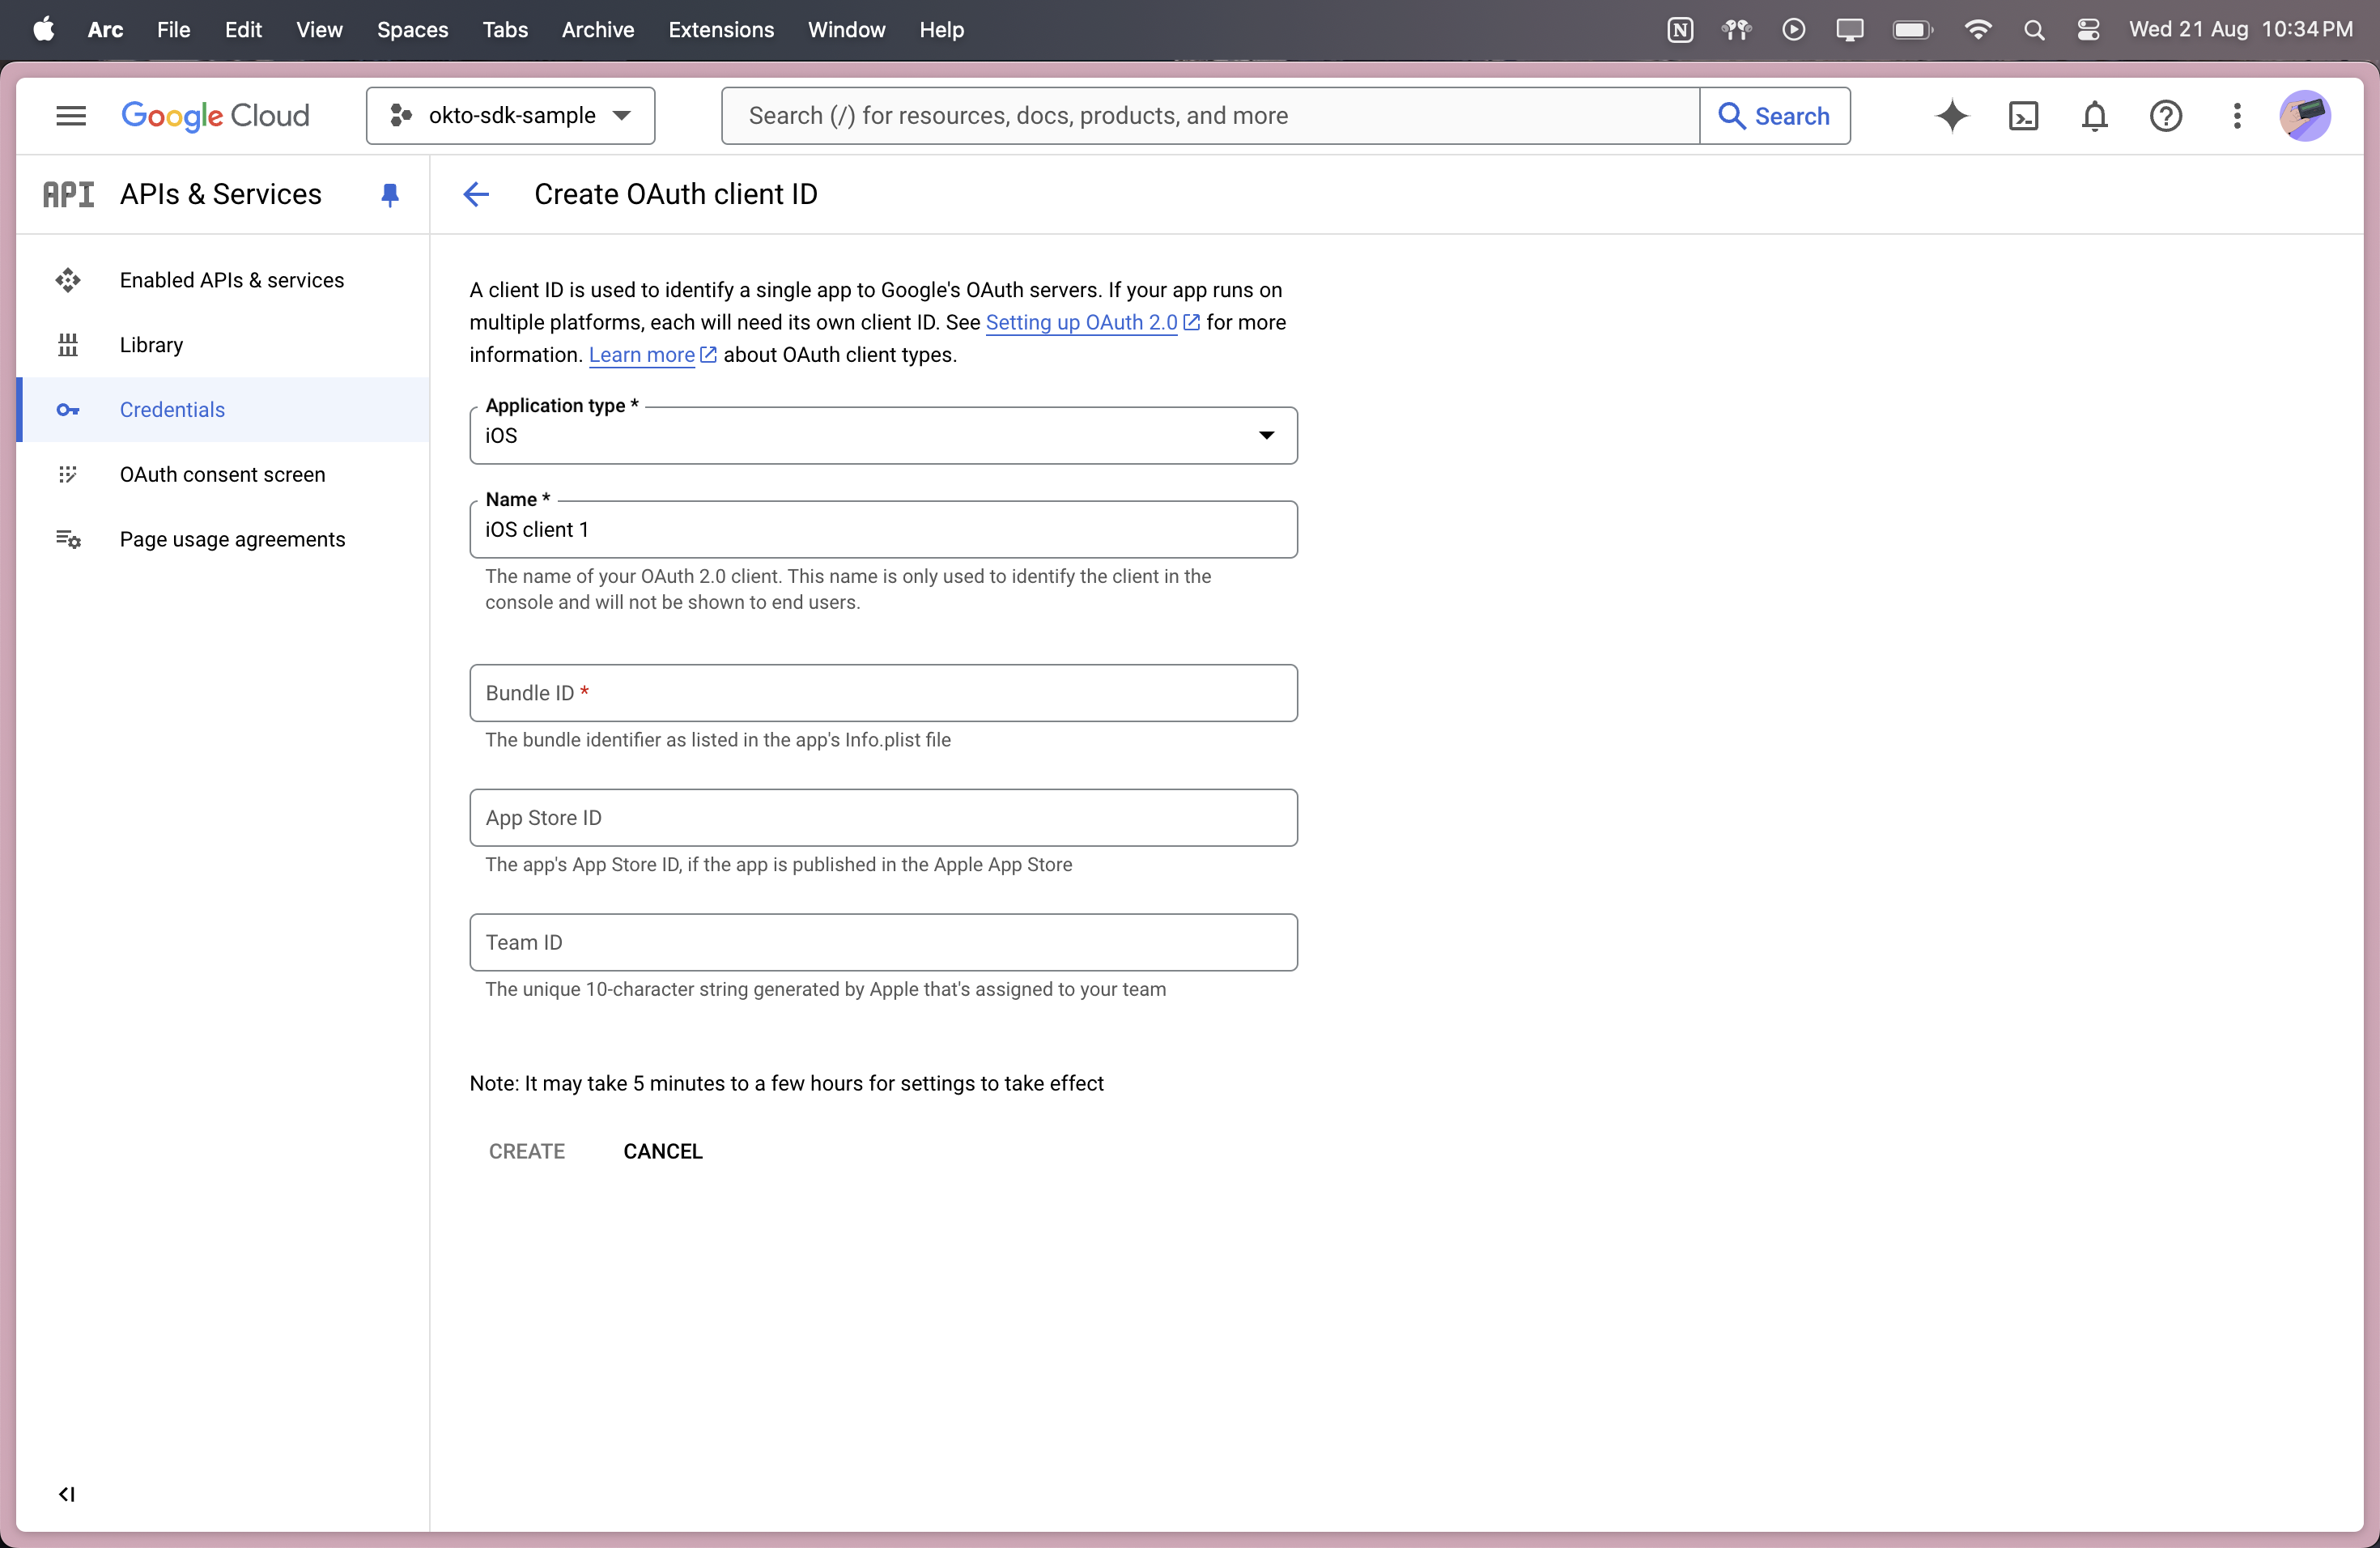
Creating an iOS Client ID
- In Google Cloud Console, navigate to the "Credentials" page under "APIs & Services".
- Click on "Create credentials" and select "OAuth client ID".
- Choose "iOS" as the application type.
- In the "Bundle ID" field, enter the bundle id of your iOS app, you can get this from XCode or
info.plist(e.g.,com.example.myapp). - Click "Create" to generate your iOS client ID.
- Copy the client ID and iOS URL scheme provided.
- Download the plist file and rename it to
GoogleService-Info.plist. - Add the
GoogleService-Info.plistfile to your iOS project.
Conclusion
You have successfully set up a project in Google Console, created an OAuth consent screen, and generated web, Android & iOS client IDs for Google authentication. You can now integrate Google authentication into Android/iOS applications using the provided client IDs.